Interface and interaction
Grade: 8.5
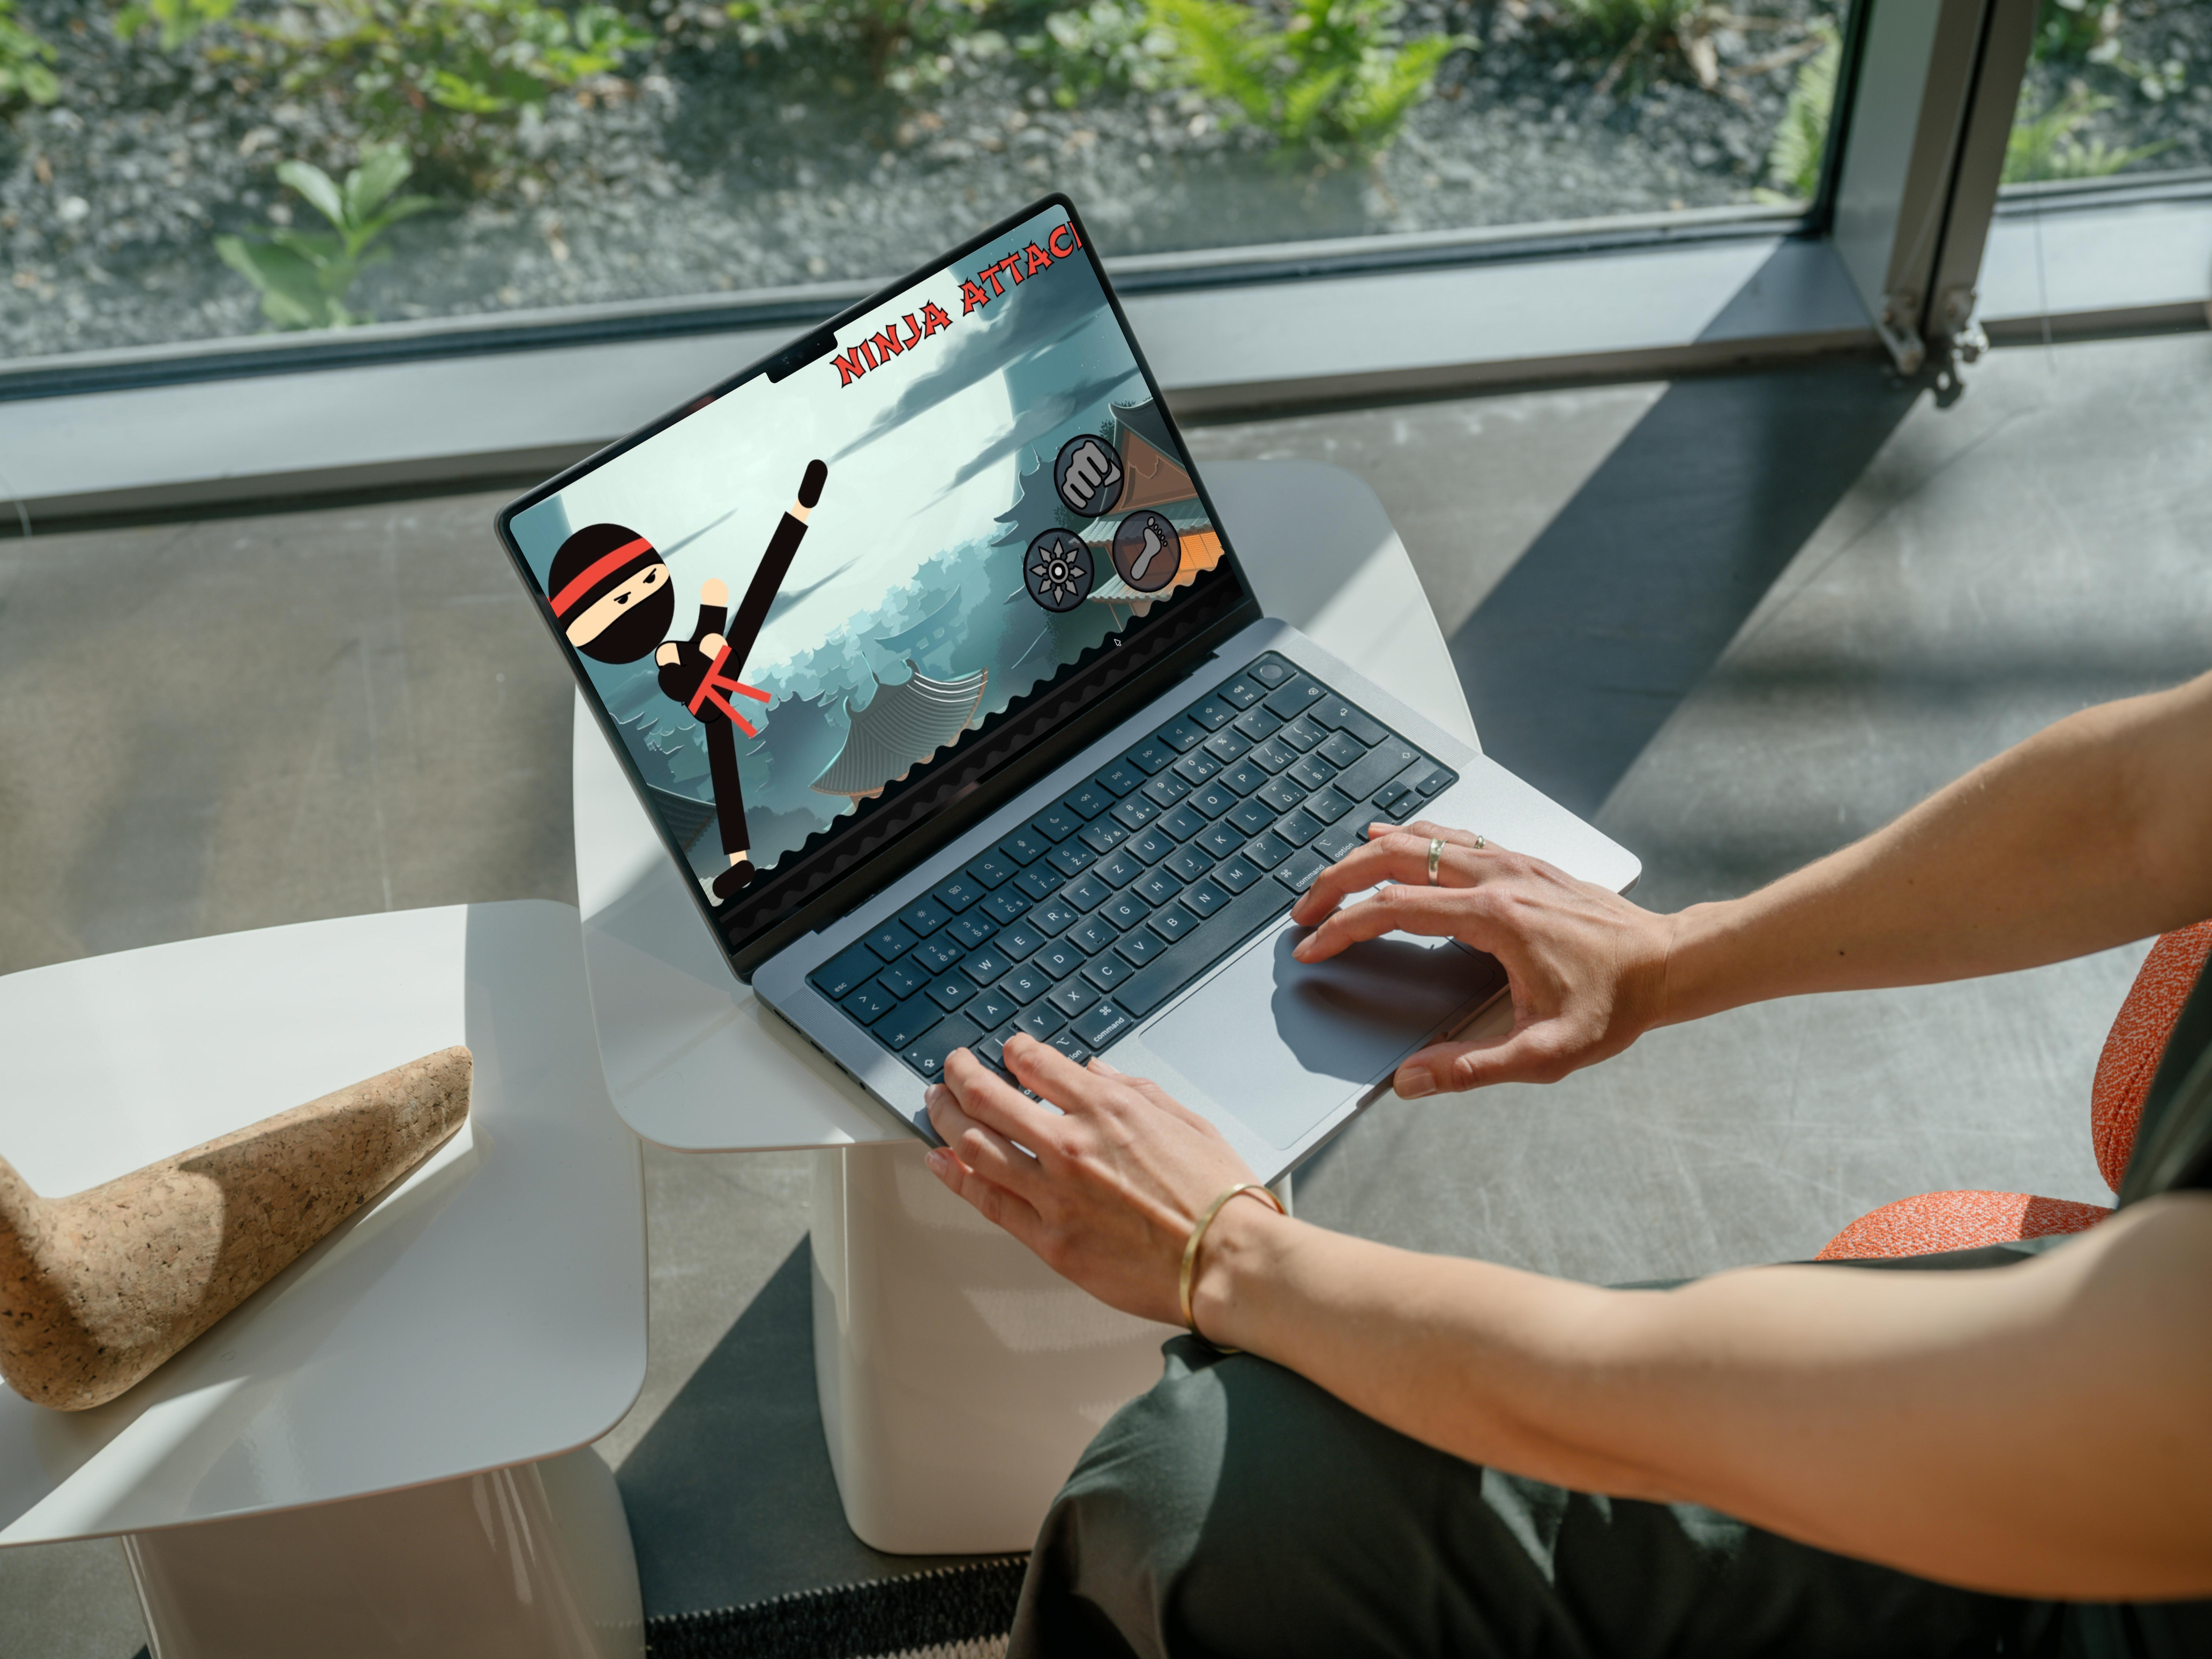
For this project, I designed and animated an interactive ninja character. The goal was to create a character that naturally responds to user input by performing different actions.
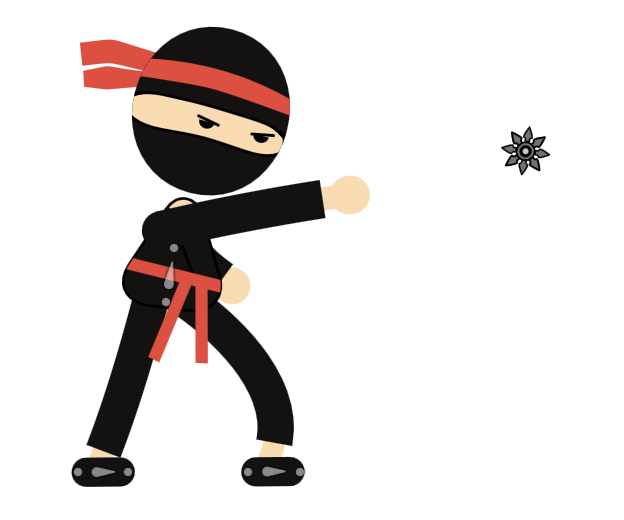
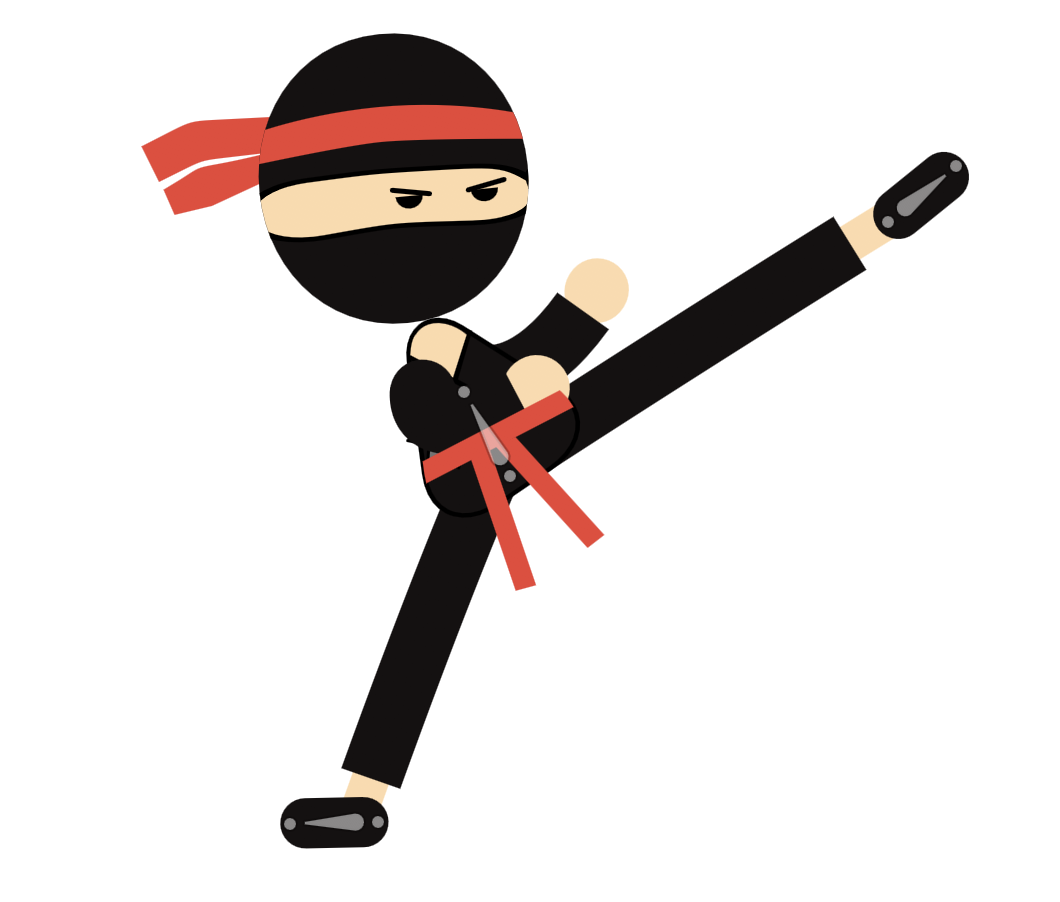
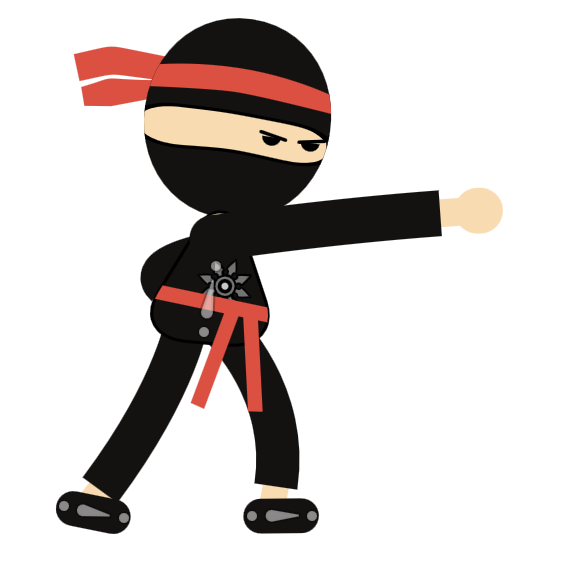
The character is placed in a traditional ninja-themed environment. When the application starts, the ninja is in an idle state. In this state, the character moves subtly up and down and looks around attentively, making the character appear alive even when no action is taking place. The user can choose between three different actions: a kick, a punch, or throwing a ninja star. When an action is selected, the ninja performs the corresponding animation and then automatically returns to the idle state.
This setup creates an interactive animation in which the character is always ready for new commands, allowing the actions to be repeated multiple times. The project focuses on combining character animation, interaction, and a thematic environment into one cohesive experience.
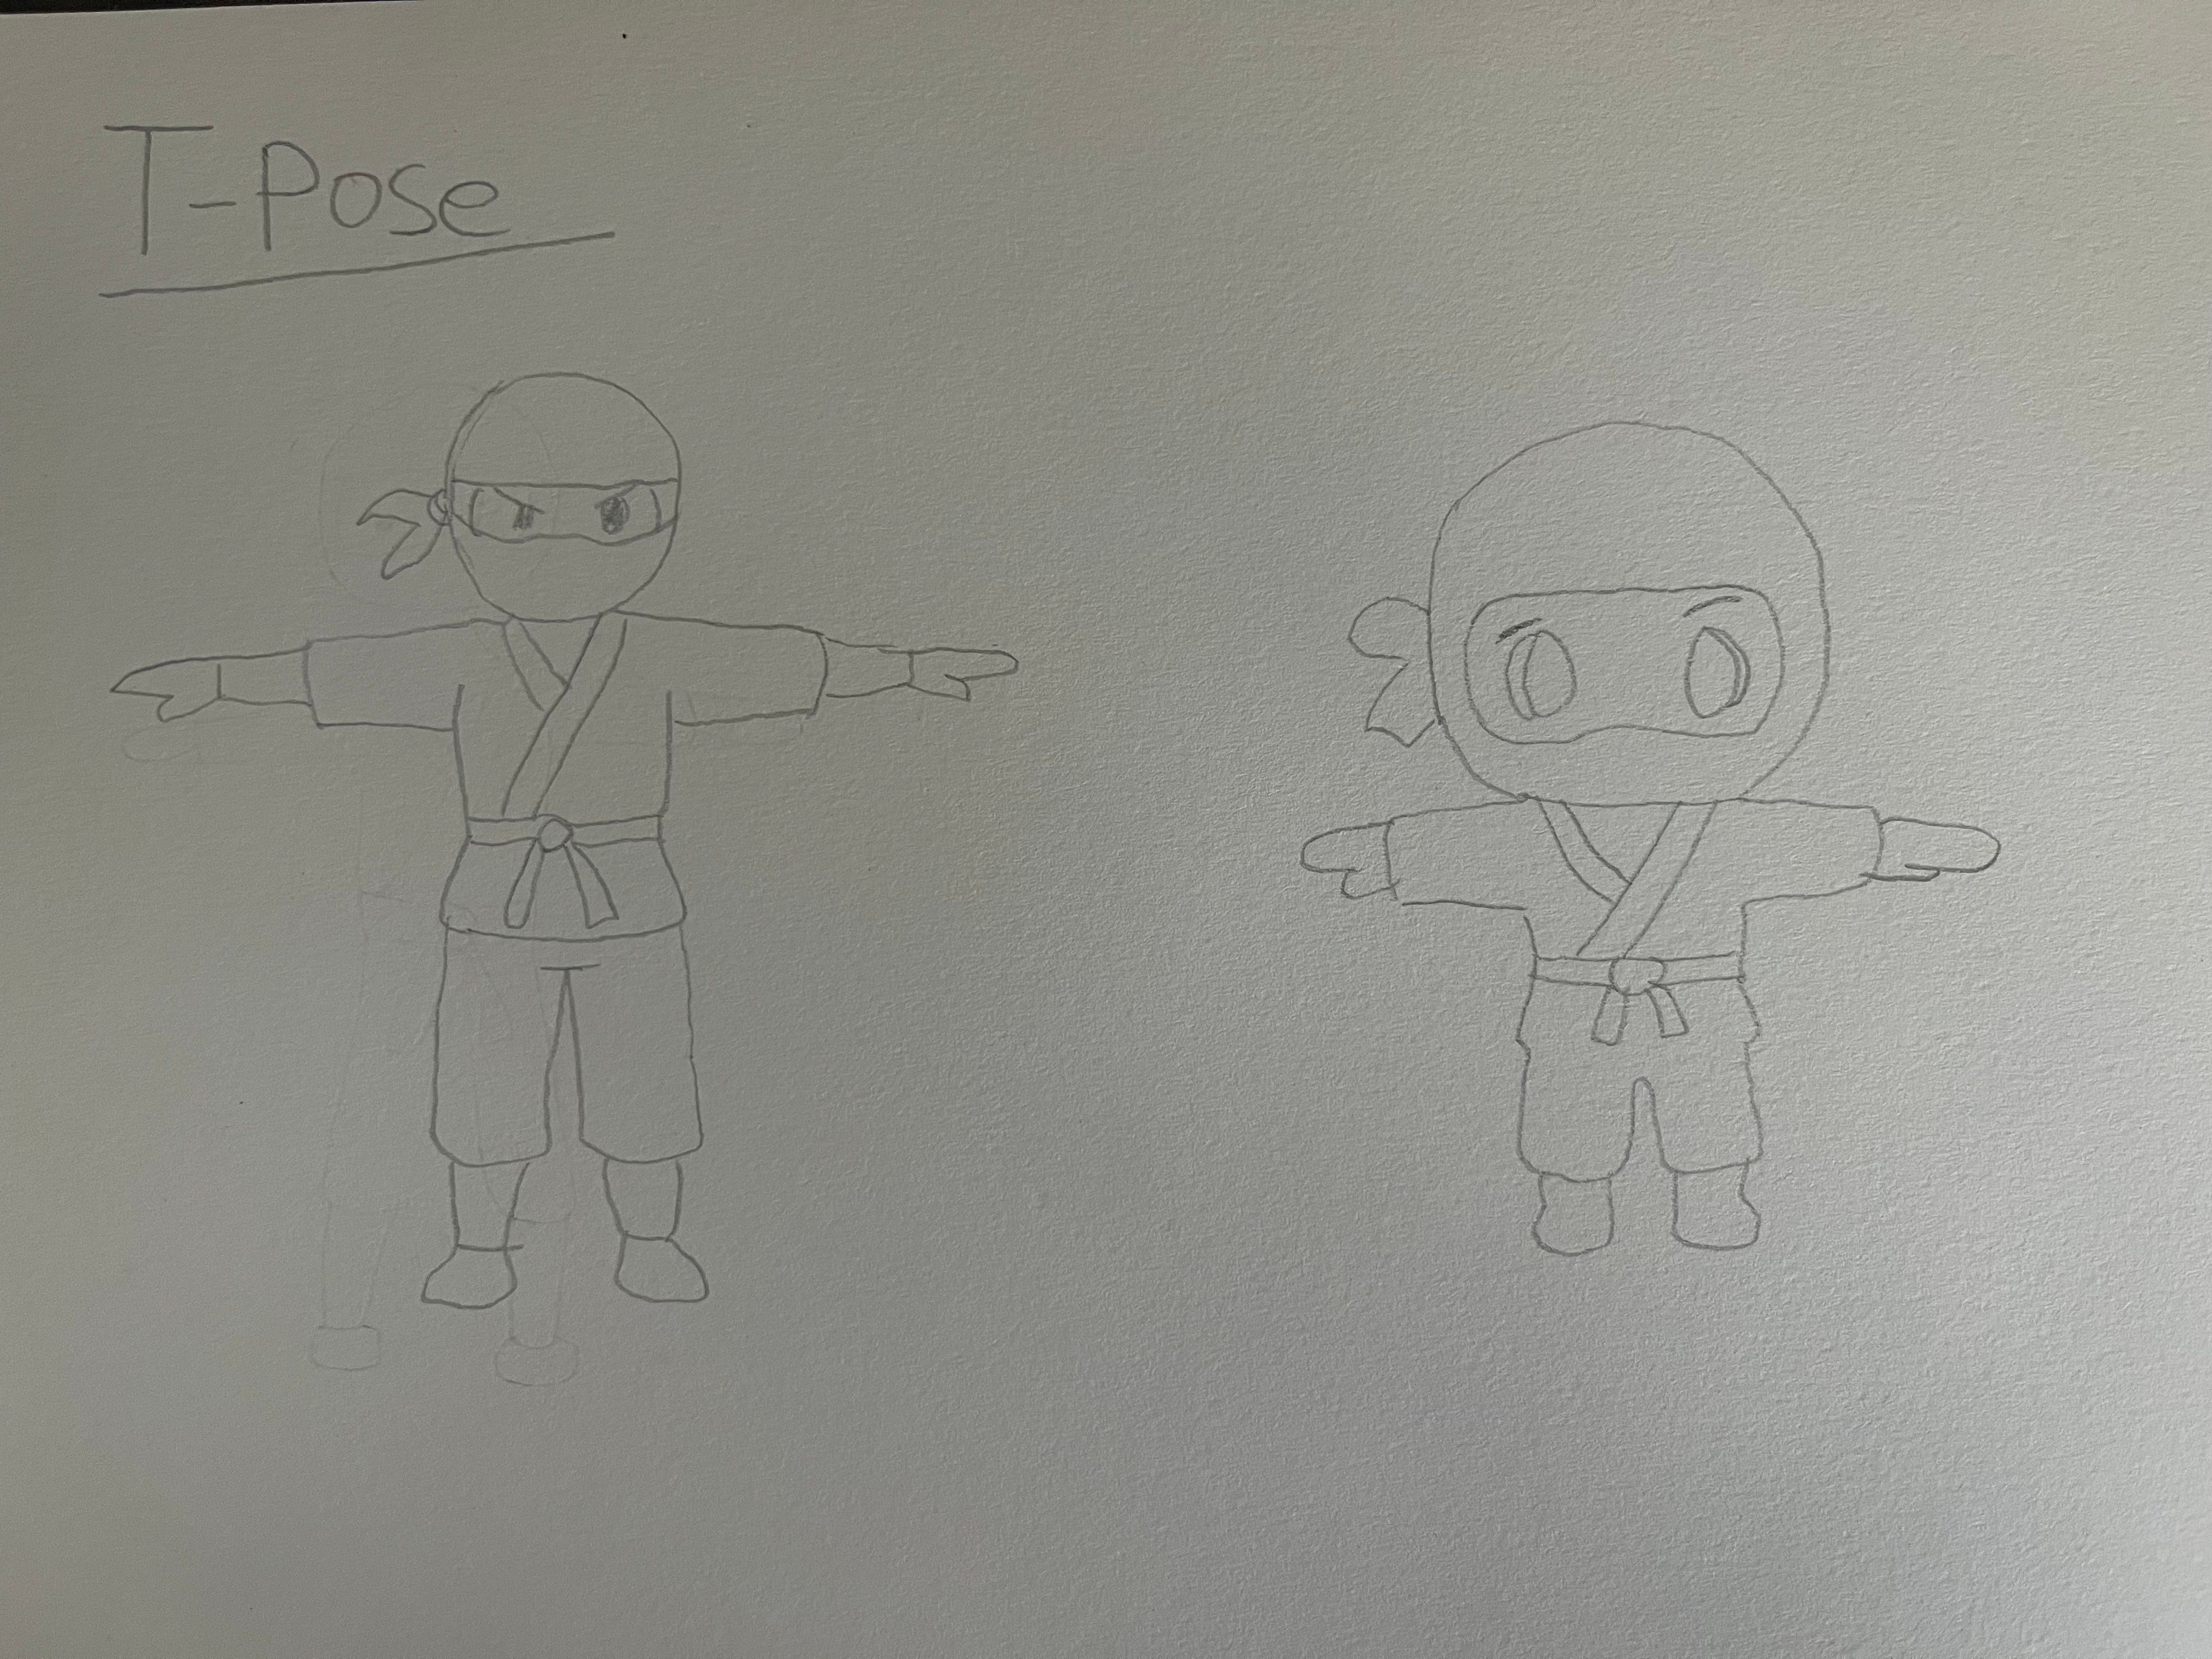
T-Pose Sketches
To design the character, I first created two different T-pose concepts to explore different visual styles. The first version had a classic ninja appearance, while the second version featured a more cartoon-like style. For both concepts, I created one or more digital versions to further explore the designs. After comparing the concepts, I chose the classic ninja style. This style better matched the look and feel I wanted for the character and provided a strong foundation for further development.
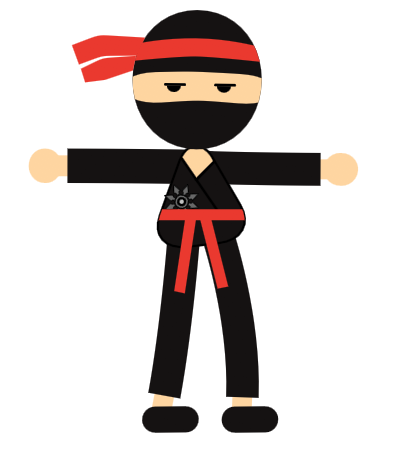
T-Pose Digital Design
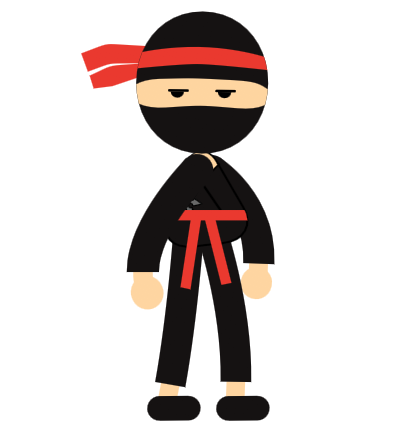
This is the final version of the digital character. Compared to the first digital version, I added several details to make the design more recognizable as a ninja. For example, I added a headband and waist sash, which are common elements in ninja designs. I also placed a ninja star underneath the sash so it could later be used during animations. Additionally, I adjusted the shapes of the head, torso, and limbs to make the character more suitable for animation. I then added a rig with bones, making it easier to animate movements and creating smoother animations. With these improvements, the digital character was fully prepared for the next stage: animation.
Character Inspiration
For the design of my character, I was inspired by the style of the characters from Duolingo. I like this style because it is clean, simple, and highly suitable for animation. By using simple shapes, the character remains clear and recognizable while still allowing for playful and fluid movements.
I used Rive to create the animations. This is the same animation tool used by Duolingo for its interactive animations. This allowed me to draw inspiration from their approach while developing my own character and animations.
Animation Concepts
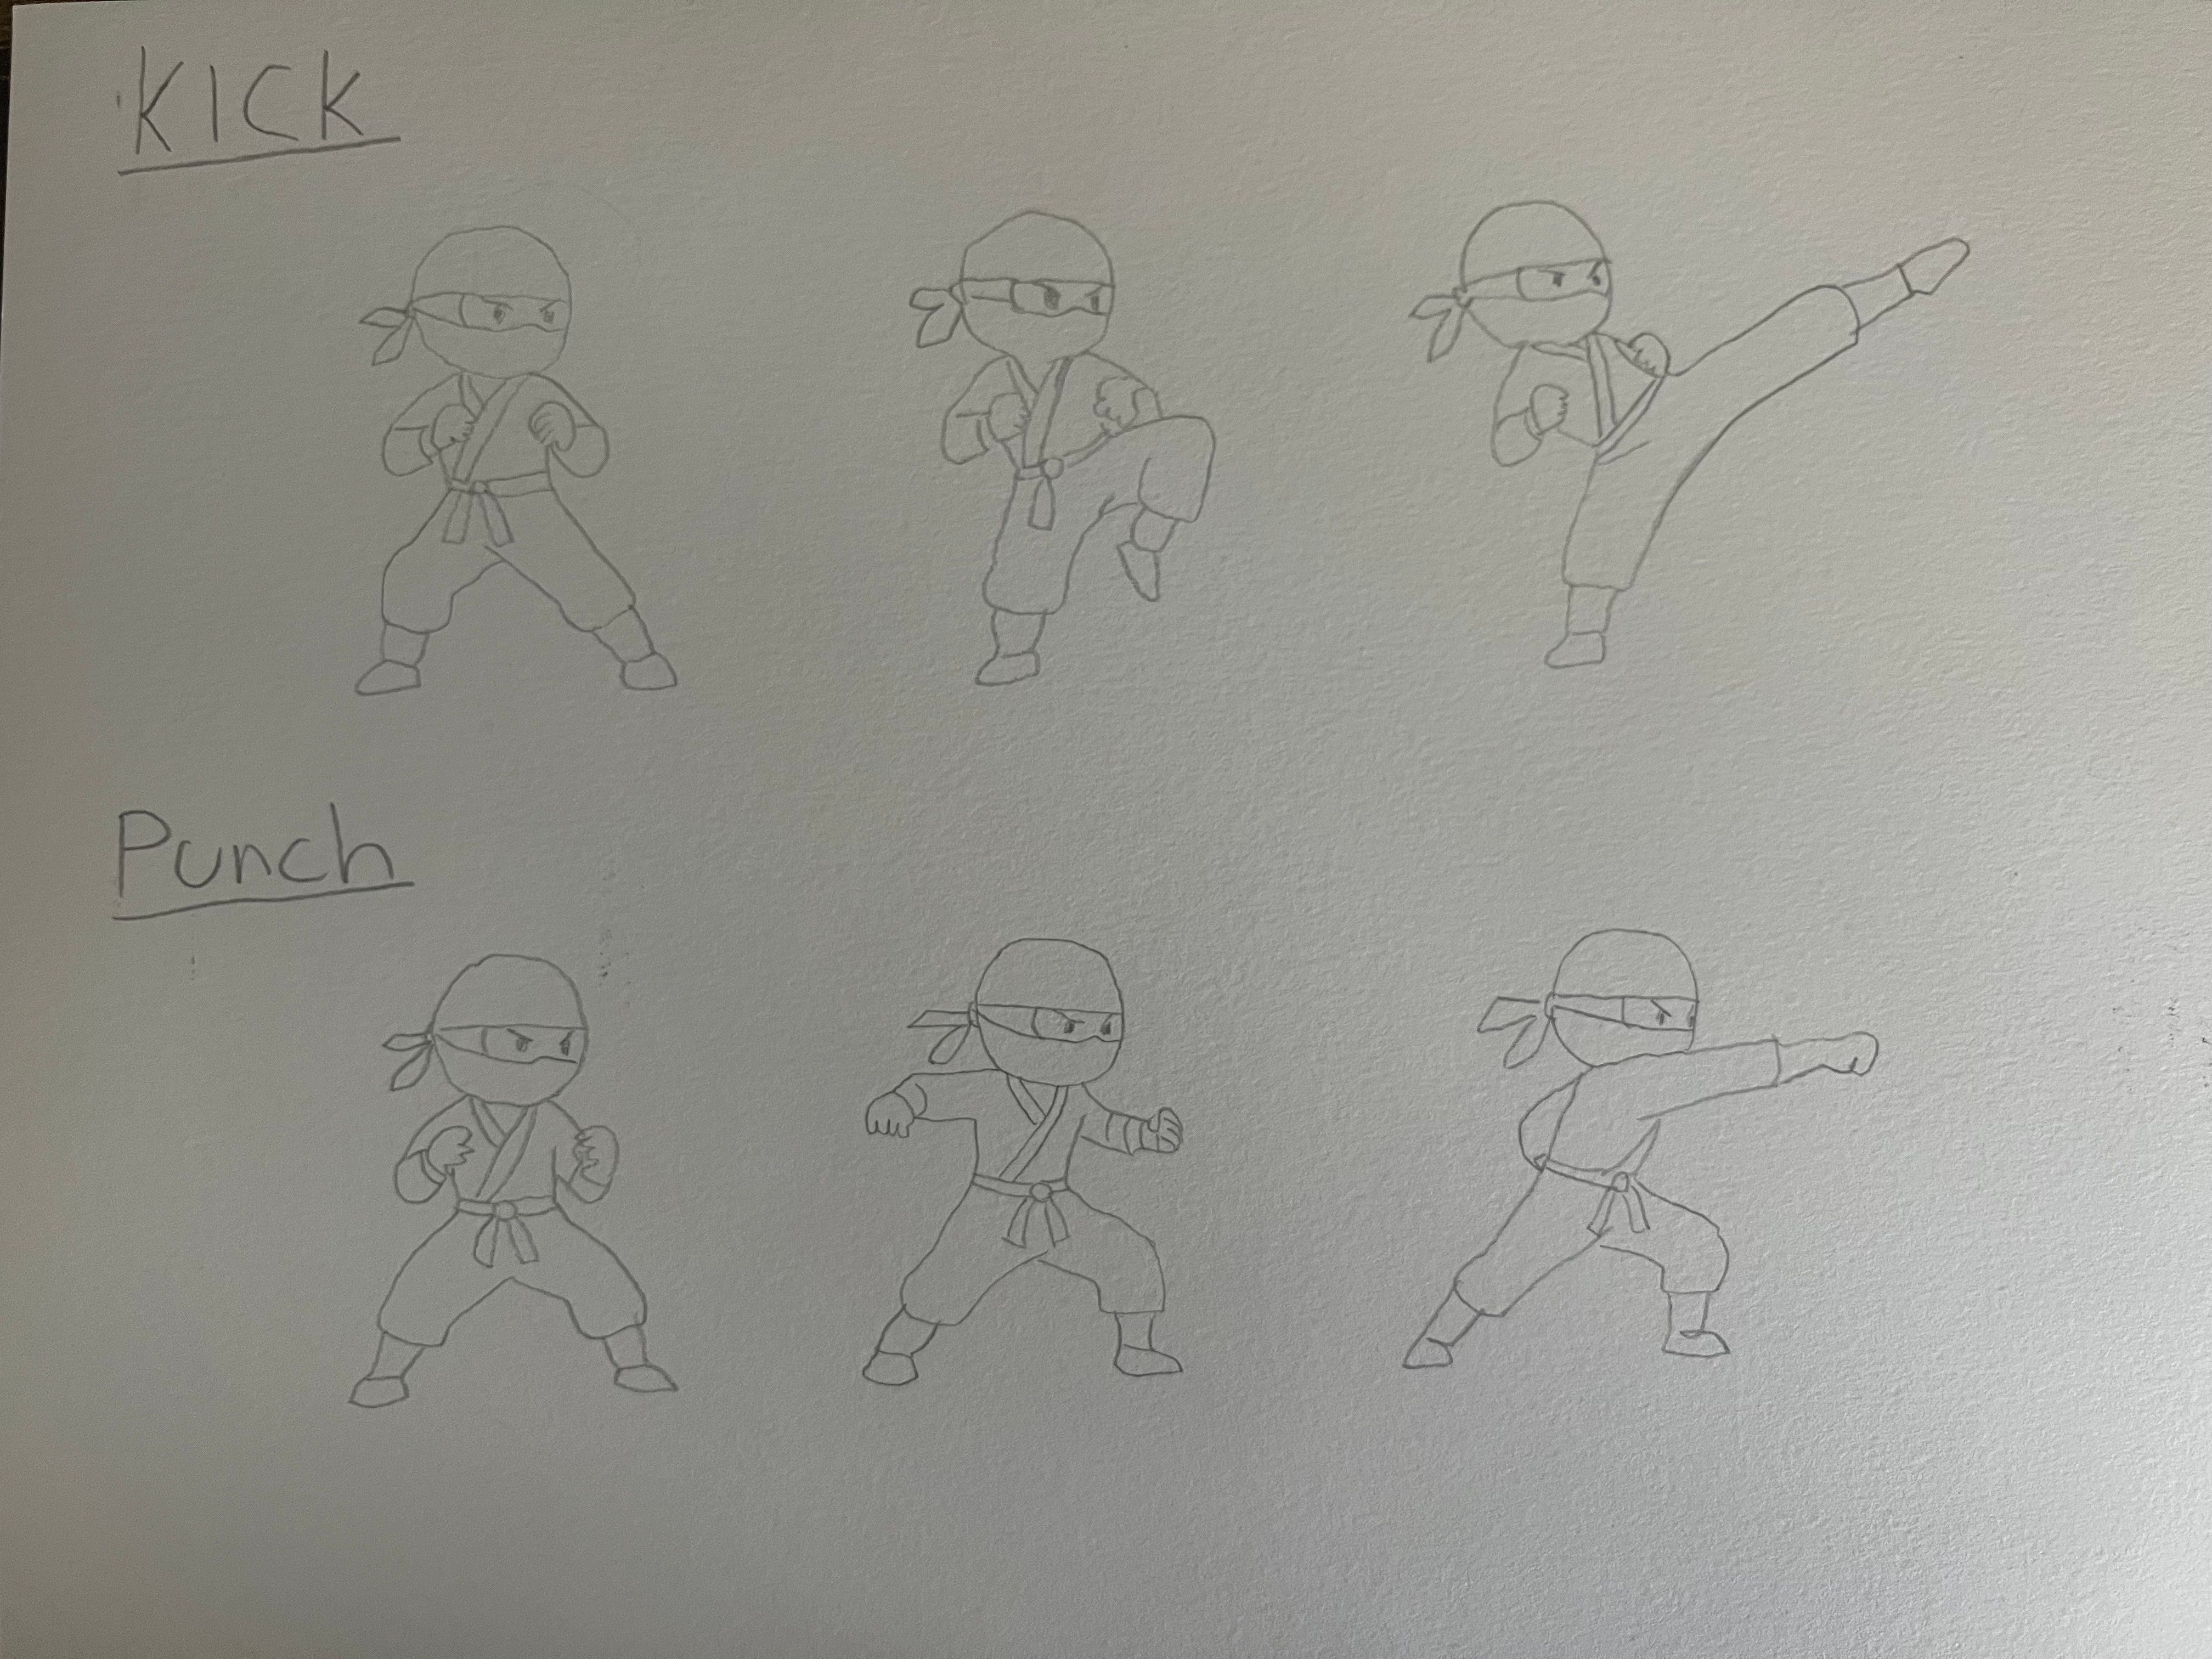
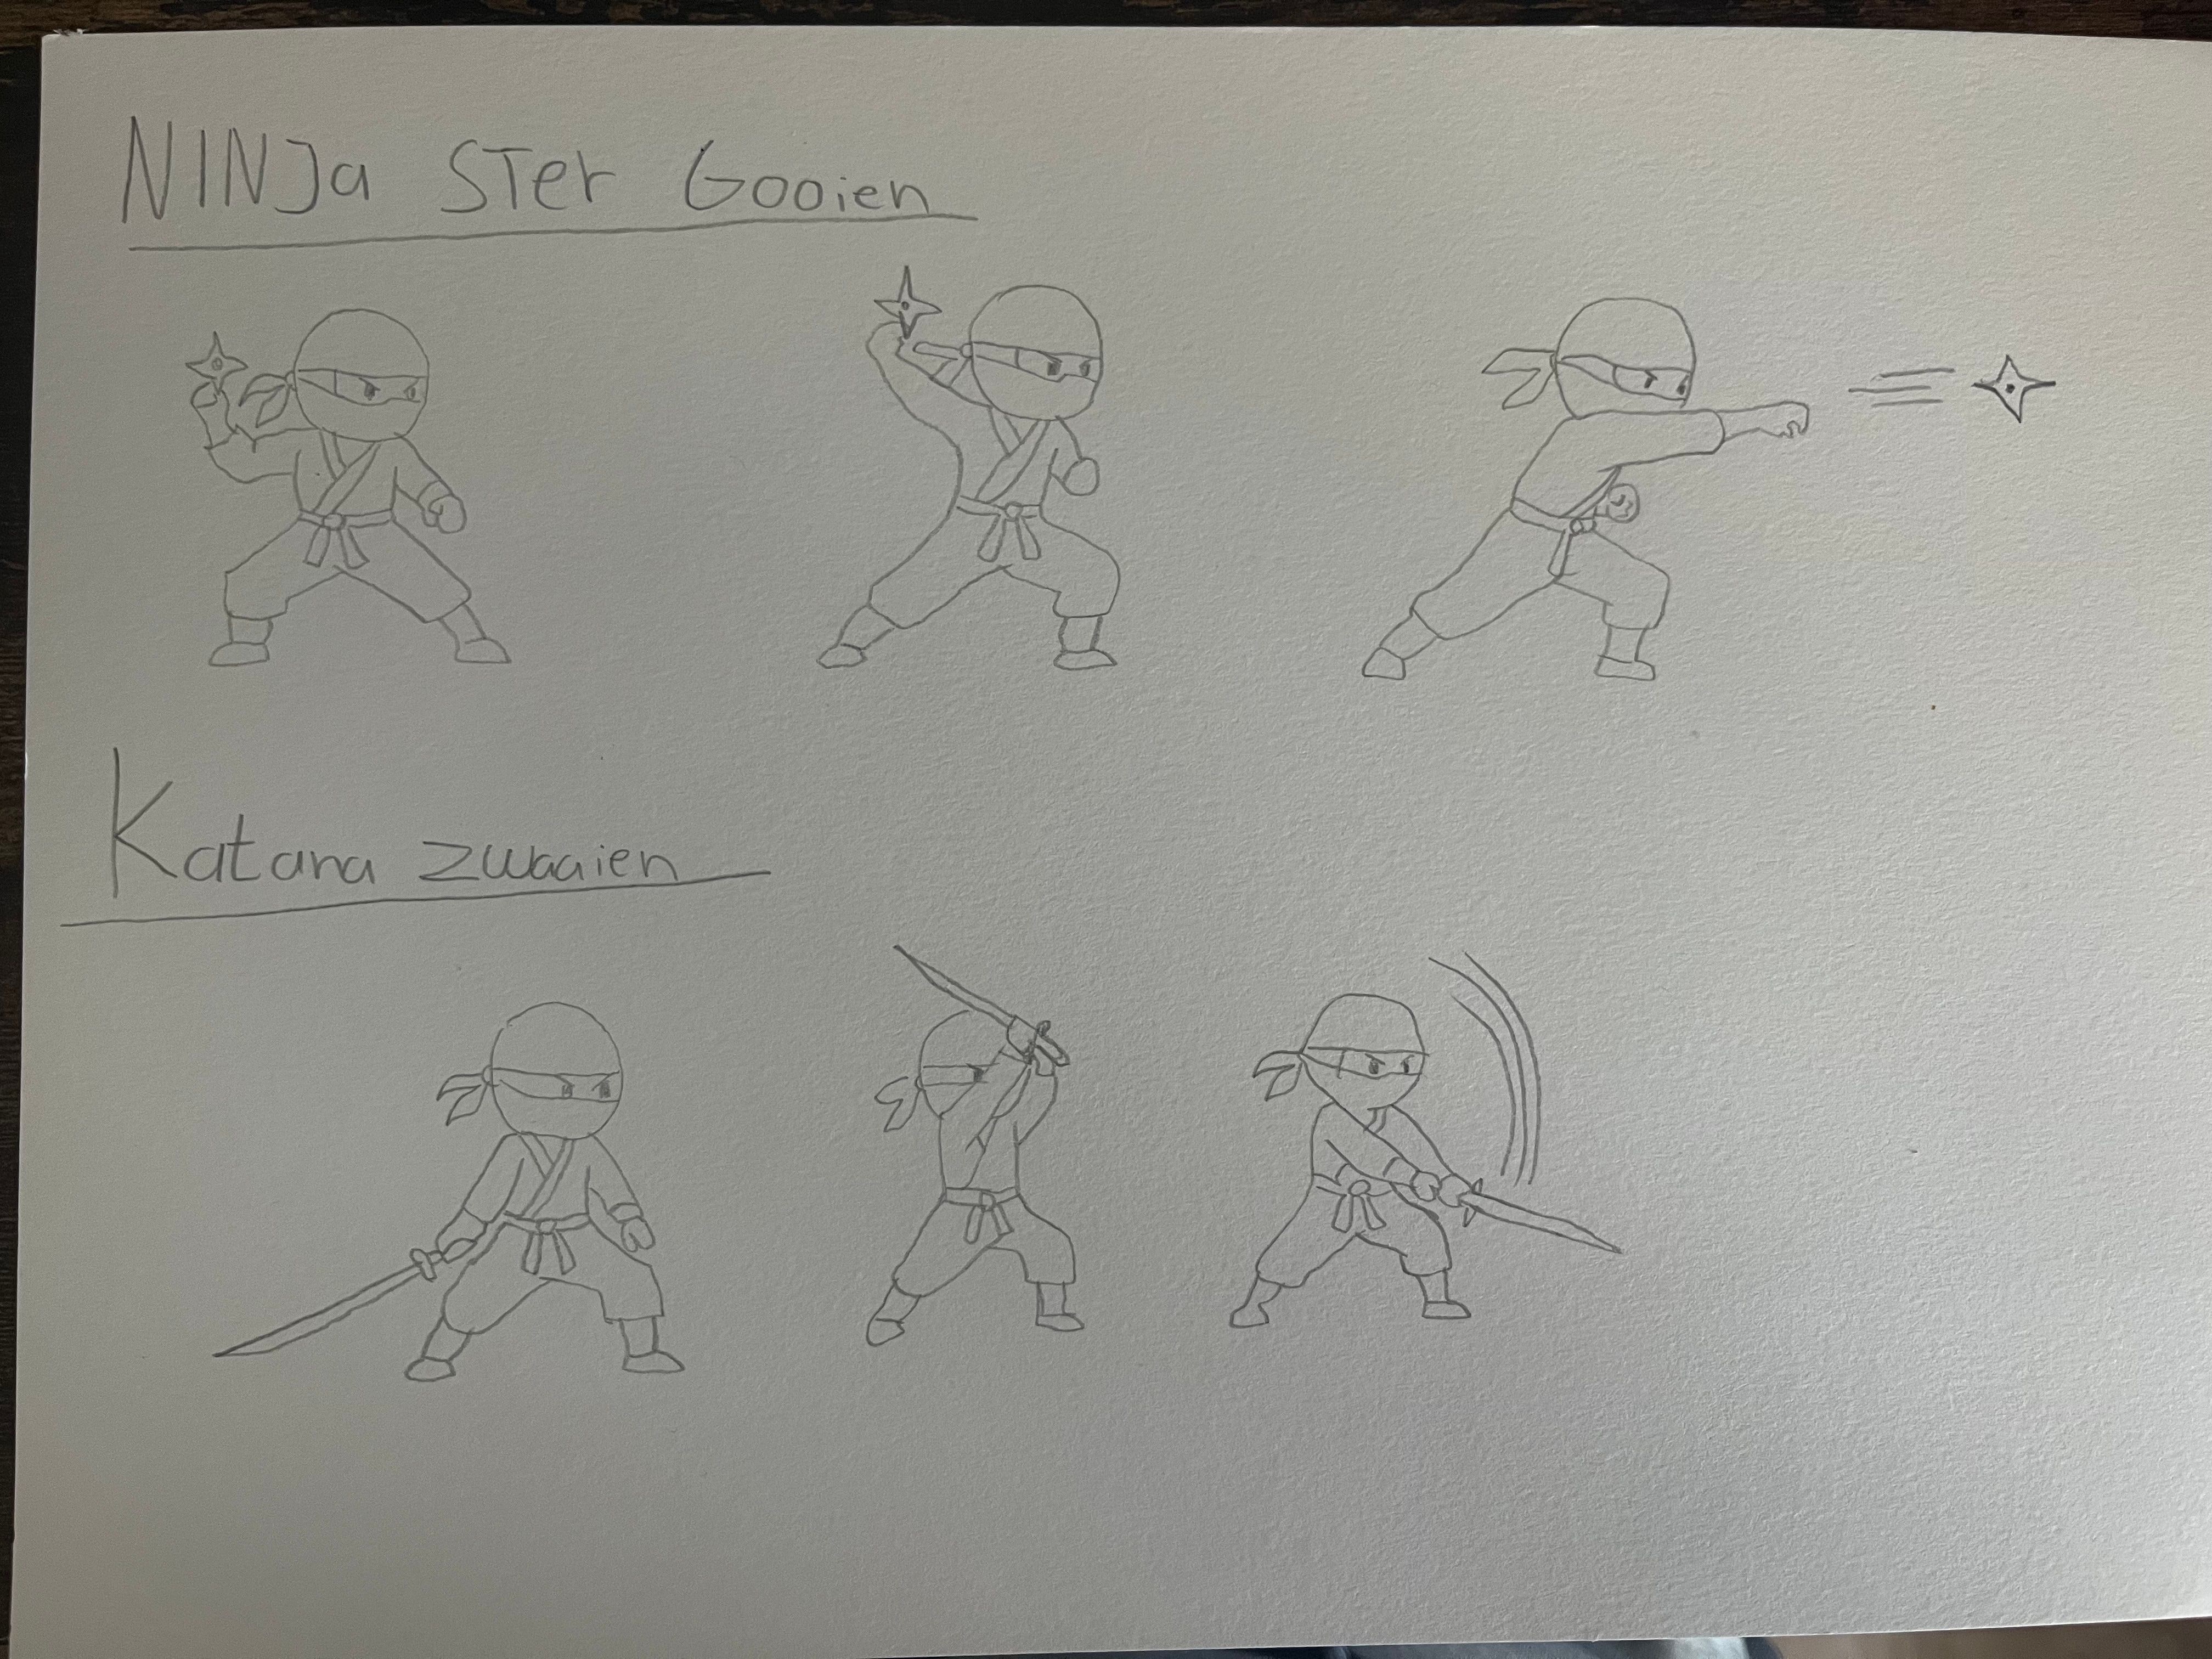
I initially considered four possible movements for the ninja: a kick, a punch, throwing a ninja star, and swinging a katana. I created sketches for these ideas to determine which actions were the most appealing and enjoyable. For the final animation, I selected three movements: a kick, a punch, and throwing a ninja star.
Technical Research
For animating the ninja character, I chose to use Rive. This tool is specifically designed for creating interactive animations, making it a good fit for a project where the character performs different actions based on button inputs. Rive allows me to create state transitions, enabling the ninja to smoothly switch between the idle animation and actions such as kicking, punching, and throwing a ninja star. Since I had never worked with Rive before, I started by researching the software through tutorials and examples.
During my technical research, I focused on the fundamentals of Rive, including creating designs, turning designs into animations, working with state transitions, and connecting interactions to animations.
Storyboard
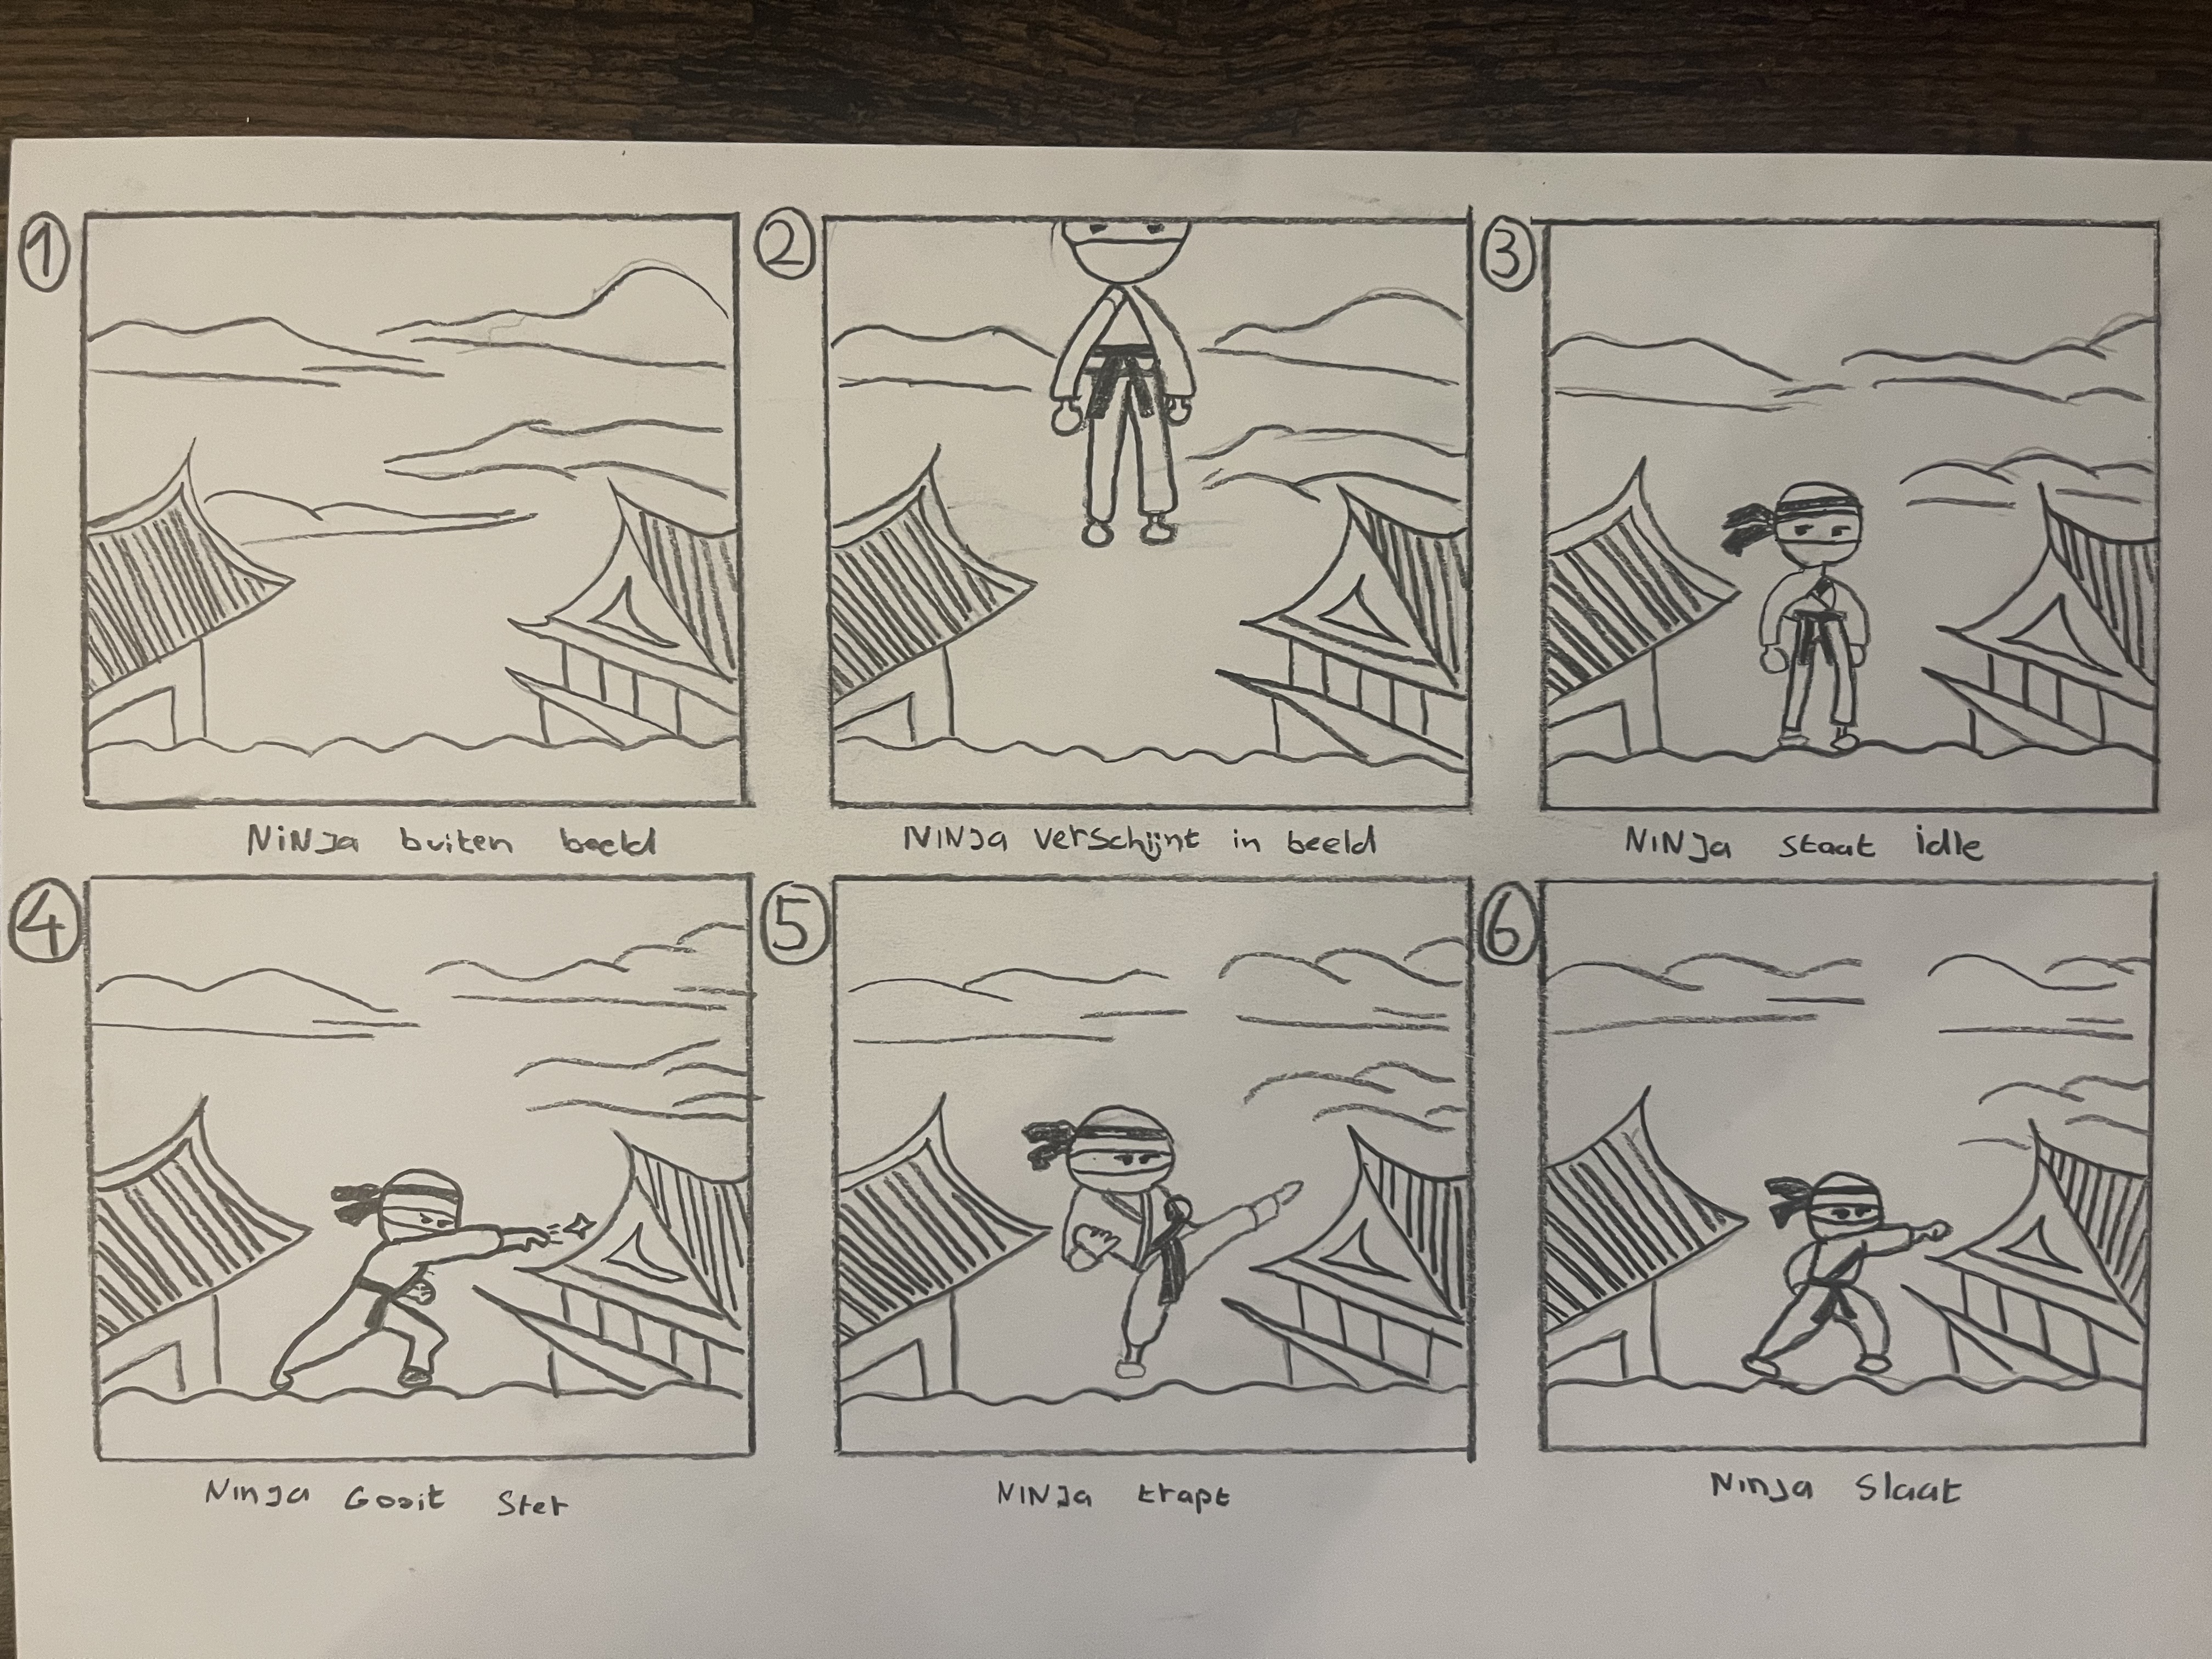
To plan the flow of the animation, I created a storyboard. It illustrates each step of the animation sequence and helped me think about the transitions between different actions.
- The animation begins with only the background visible.
- The ninja jumps into the scene from above.
- The ninja enters an idle state, moving subtly up and down while slightly bending the knees and moving the shoulders.
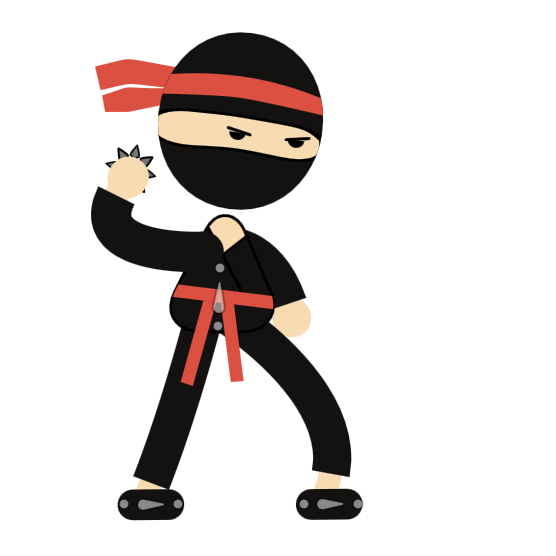
- From the idle state, the ninja can throw a ninja star.
- The ninja can perform a quick kick.
- The ninja can perform a powerful punch.
Animations
Idle
Throwing a Ninja Star
Quick Kick
Powerful Punch
Icon Sketches
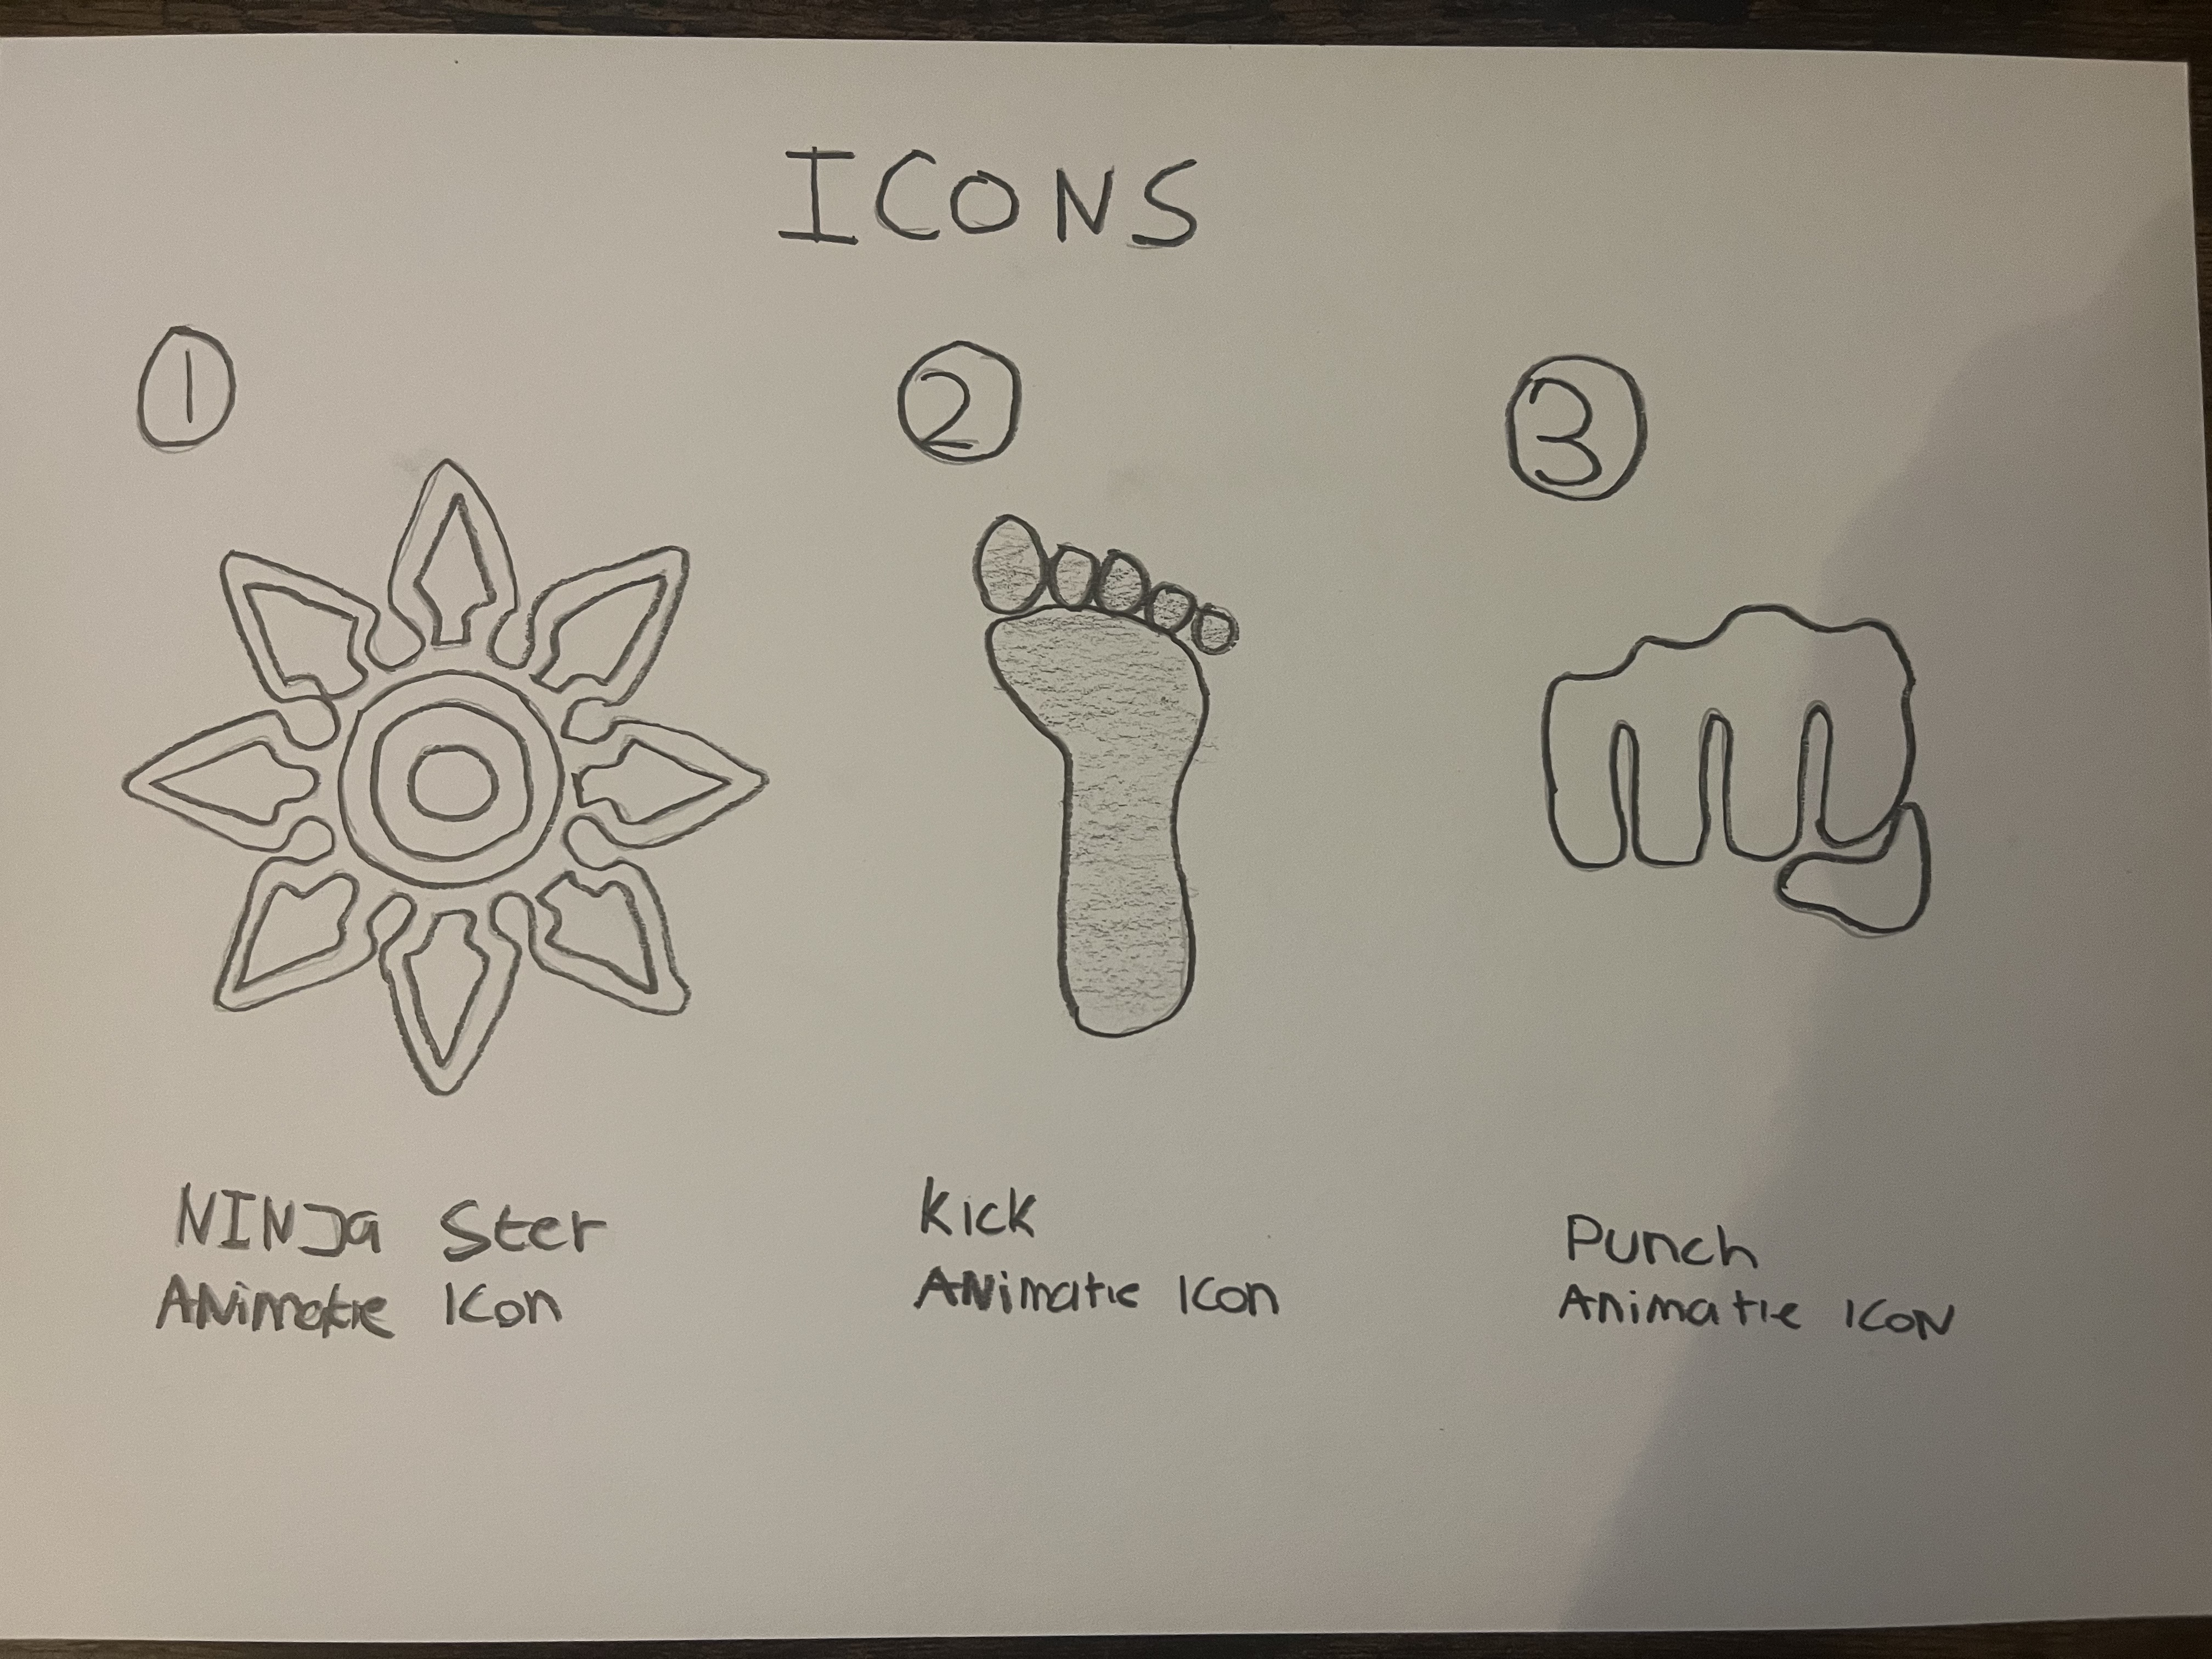
To control the animations, I designed three interactive buttons. Each button represents a specific ninja action and includes an icon related to that action. Through animations and hover effects, users receive clear visual feedback.
Ninja Star Button
The ninja star icon slowly rotates when idle. On hover, the rotation speed increases, making the button feel interactive.
Kick Button
The kick button uses a foot icon. In its default state, the foot slightly rotates to the right and back. On hover, it faces forward, stops moving, and increases in size.
Punch Button
The punch button uses a fist icon. By default, the fist rotates clockwise and then counterclockwise in a repeating ping-pong motion. On hover, the fist straightens, stops rotating, and enlarges.
Design and Placement
All icons are placed inside circular buttons. This makes them instantly recognizable as interactive elements while also increasing the clickable area. In addition to the icon animations, the circle itself enlarges on hover, further emphasizing interactivity. The buttons are positioned in the bottom-right corner of the screen to ensure easy access without distracting from the character animation.
Audio
For this project, I researched audio that would fit the atmosphere of the animation. I explored background music that adds tension and immersion to the scene, as well as sound effects that match the character’s actions, such as kicks, punches, and ninja sounds. For the punch and kick animations, I used sound effects from Rive’s built-in audio library. These sounds make the actions feel more impactful and engaging.
Reflection
During this project, I learned a lot about animation. It was my first time creating animations and my first experience working with Rive. At the beginning, there was a learning curve, but as I gained experience, the workflow became much easier.
I learned how keyframes, state machines, and animation transitions work. I also discovered how important timing is when creating natural and fluid movement. Even small adjustments can make a significant difference in how realistic an animation feels.
The biggest challenge was creating smooth transitions between different animations. I solved this by increasing the transition time between animations and ensuring that the final keyframe of one animation matched the first keyframe of the next.
I enjoyed the creative process and seeing the project evolve step by step into a finished product. Besides learning new software, I also gained a better understanding of how animations are designed and developed, making this a valuable learning experience.